TechDas
Vacuum Replacement Lip Set for Micro Seiki RX SX BL
Vacuum Replacement Lip Set for Micro Seiki RX SX BL
Couldn't load pickup availability
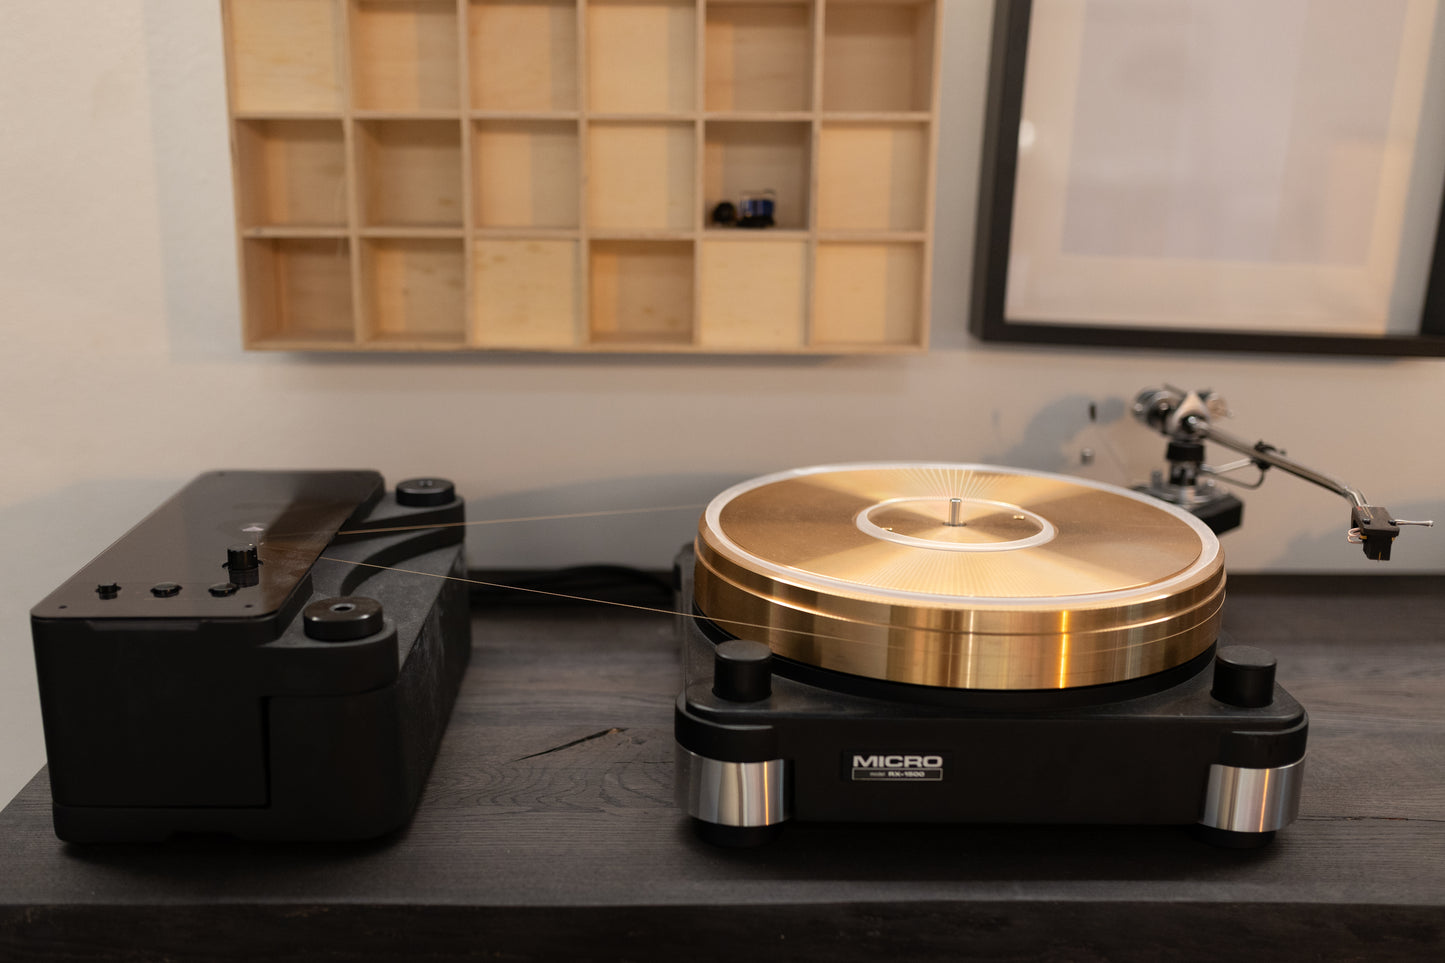
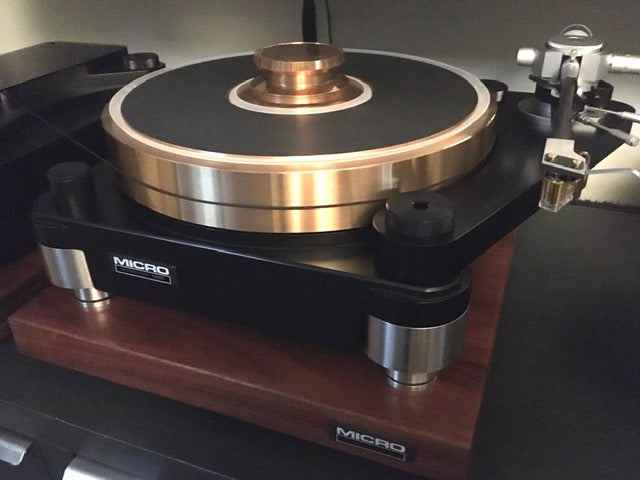
The Micro Seiki RX SX Vacuum Replacement Lip Set from TechDas is a genuine spare part designed to replace the old vacuum lips of Micro Seiki turntables. This set consists of high-quality TechDas spare parts and ensures the optimal function of the vacuum system, which minimizes unwanted vibrations and distortion by holding the record firmly on the turntable.
The replacement lip set is compatible with the following Micro Seiki models:
- Micro Seiki RX-2000
- Micro Seiki RX-1500 VG
- Micro Seiki RX-1500 FVG
- Micro Seiki SX-1500
- Micro Seiki RX-5000 Air
- Micro Seiki RX-8000
- Micro Seiki RX-8000 MK II
- Micro Seiki BL-111
Other Micro Seiki models are compatible and are not listed here. Please ask first.
Not suitable for:
- Micro Seiki BL-99V
- Luxman
In addition, the set supports all models from TechDas, the successor to Micro Seiki, founded by Nishikawa san. This makes it ideal for owners of TechDas turntables and all compatible Micro Seiki models who want to ensure precise sound reproduction.
Disclaimer:
The replacement seals are installed at your own risk. No liability is accepted for damage caused by improper installation or use of the product. Please proceed carefully during installation and use suitable tools. If you are unsure, please contact us.
Installation instructions:
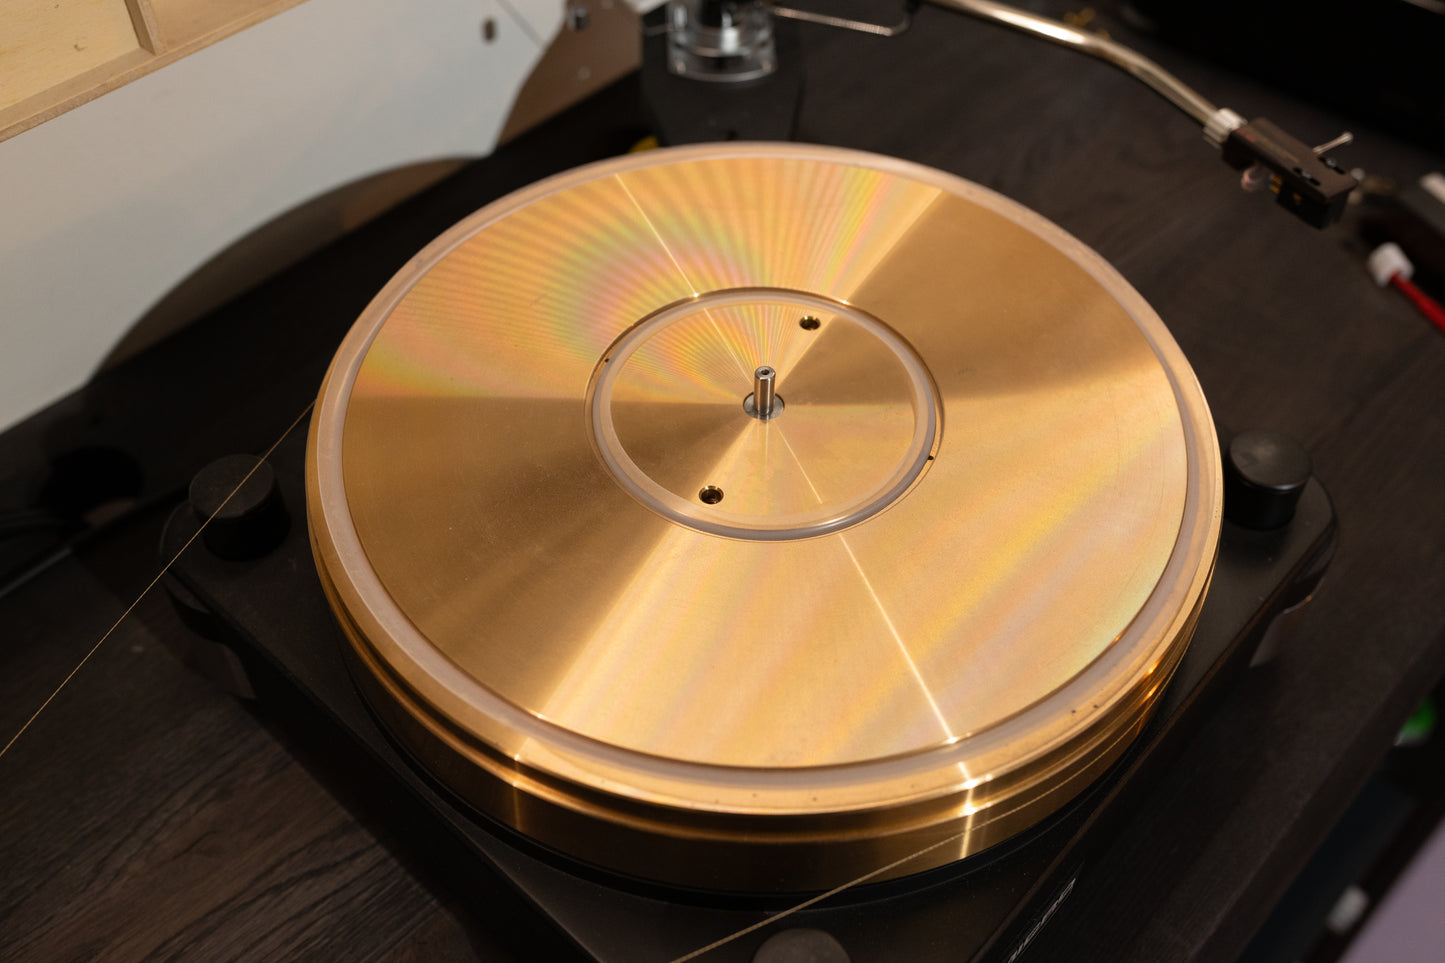
### Step 1: Remove the inner sealing lip
- Carefully place a narrow object (e.g. a small hexagon socket) at the outlet of the air duct through which the vacuum is sucked and carefully lever out the smaller sealing lip on the inside.
- Tip: To avoid scratches or damage to the turntable, place something under the pry tool, such as a soft cloth or a piece of plastic.
### Step 2: Removing the inner vacuum sealing lip
- Carefully pull out the vacuum sealing lip piece by piece by hand until it is completely removed.
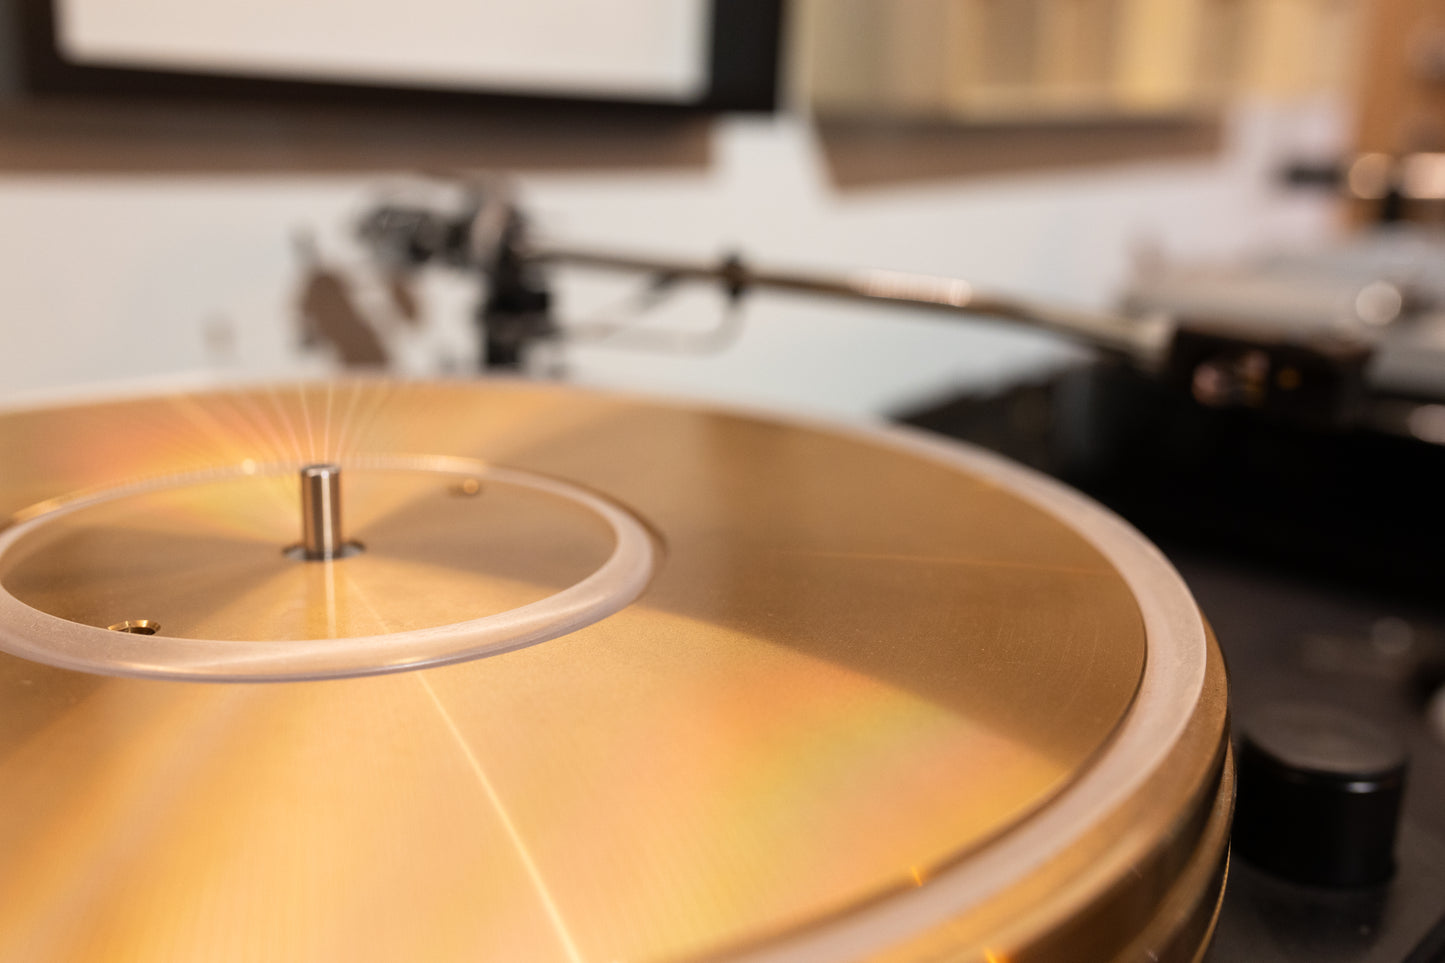
### Step 3: Inserting the new vacuum sealing lip
- Press the new seal deep into the joint so that it protrudes evenly from the turntable.
- Due to the small diameter, insertion is possible without any problems
### Step 4: Remove the outer sealing lip
- Gently heat the outer sealing lip, e.g. with a hair dryer, to make the material a little more flexible.
- Now carefully pull out the seal using two fingers. It may take several attempts as the old seal will be tight due to its age.
Once a piece is loose, pull the seal up with two fingers and remove it step by step all the way around.
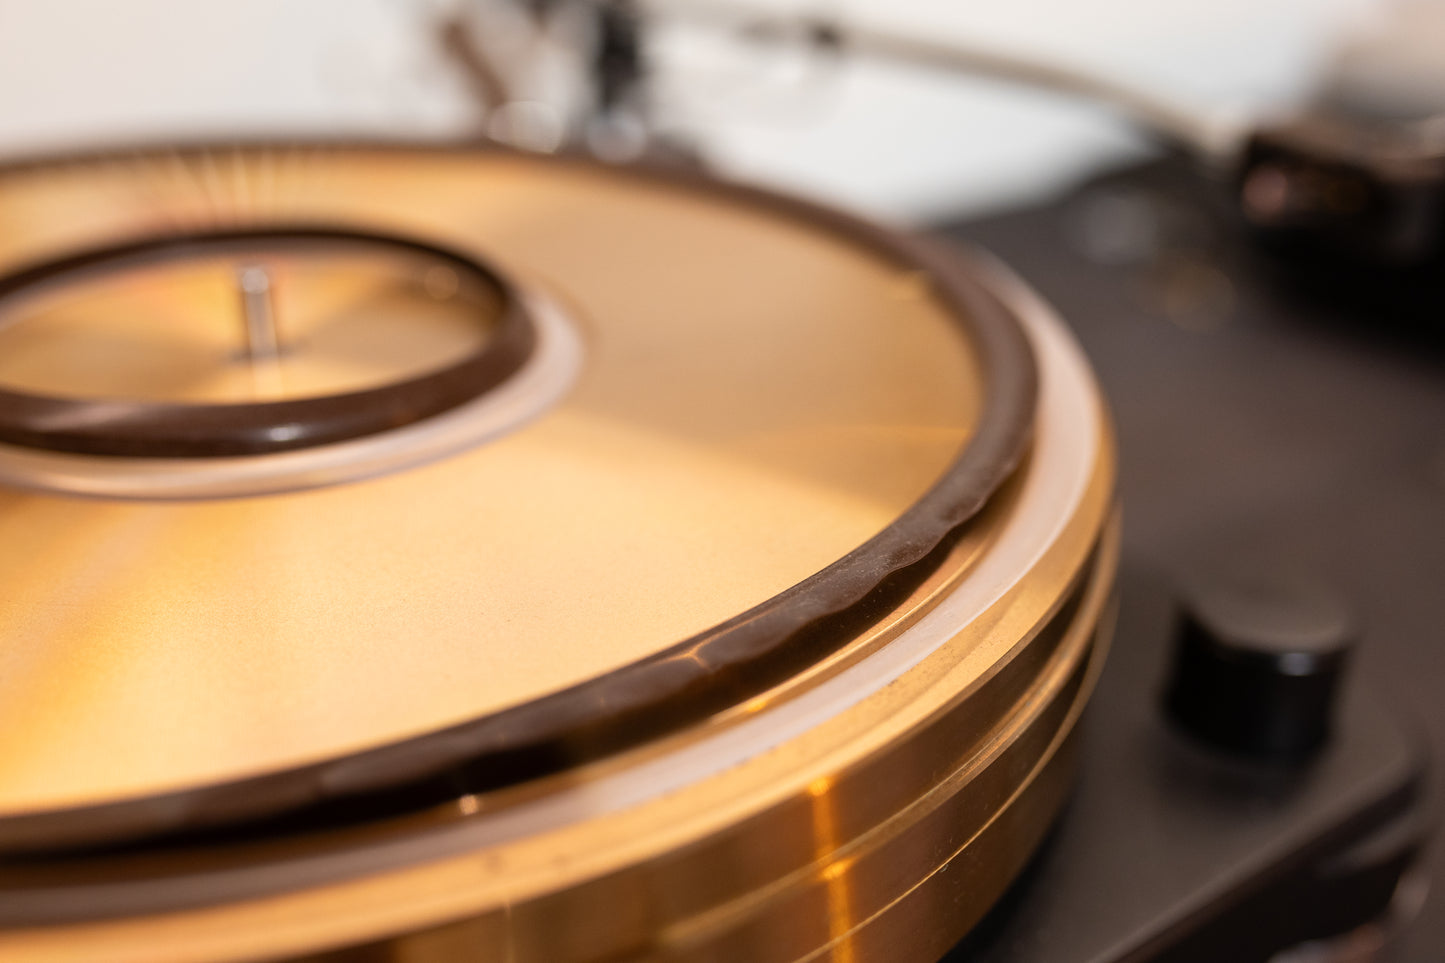
### Step 5: Inserting the new outer sealing lip
- Insert the new seal into the joint at one point and press it in deeply.
- Be careful to install the gasket without applying too much tension so that it is neither stretched nor compressed. This may take 2-3 attempts to get it right. A gasket that is stretched too much will be too long, and a gasket that is compressed will be too short.
- After some adjustments the seal should fit correctly.
### Step 6: Checking and finalizing
- Press both seals deep into the joints again so that they fit evenly all around.
### Step 7: Enjoy
- Put the record on and enjoy the next 40 years of undisturbed listening pleasure.
Congratulations, you have successfully installed the new seals. Have fun with your Micro Seiki!
If you have any further questions, please do not hesitate to contact me.
Best regards
Florian Ernst
Share